Showing posts with label st. patrick's day. Show all posts

March 7, 2011

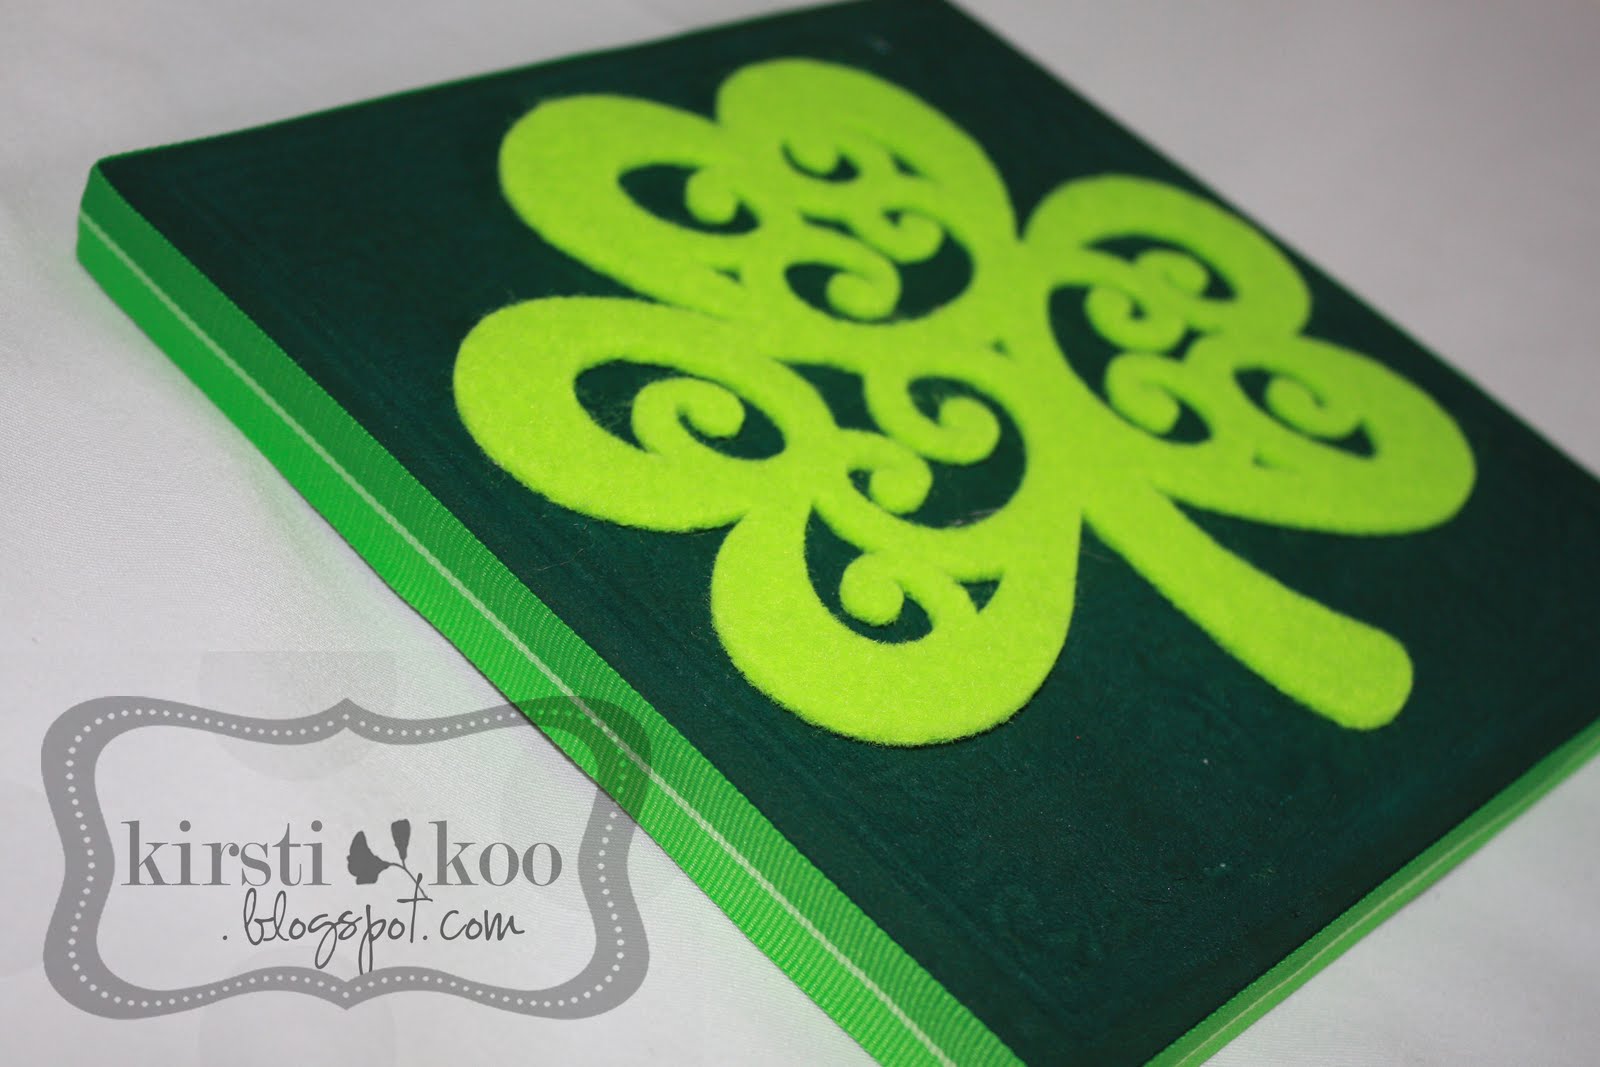
Shamrock Canvas Art

I'm featured as a Guest on Craft-O-Manic today!!
Check out my Shamrock Canvas Art Tutorial HERE!

Shamrock Canvas Art

This is the full tutorial from when I was featured on Craft-O-Maniac!
Hi Craft-O-Maniacs!! I am honored to be writing for Jen today, she is one of my favorite craft blog buddies!! I have created a super fun and easy Shamrock Canvas Art that cost me all of $3 and took me about an hour total. Don't you love easy, cheap and cute?!
Here are the supplies you need:
Shamrock Felt cutout- JoAnns $1
7.4 inch square Canvas- Michaels $2
Green Paint
Ribbon (same width as canvas width)
Paintbrush
Glue Gun or Craft Glue


Step 1: Paint entire canvas, including sides
Step 2: Glue the ribbon to the sides of the canvas
Step 3: Glue the shamrock to the front of the canvas
And you are done!! Stick it on your mantel with the other St. Patrick's Day decor

February 28, 2011

Green Link- Up!!

A few of my favorite GREEN projects --the color, not the environmentally friendly movement :)
Four Leaf Clover in a Bucket, from Lyndsey's Craft Spot. I love Lyndsey's crafts, and somehow she has thought of the perfect idea using items I already have!
And this cute printable and gift idea from Kirsten {awesome name, by the way!} at the Crafting Chicks. I have some gold coins and will definitely be making this for some of my favorite girls I visit every month!
Super fab. subway art from Lolly Jane Boutique. This is a free printable! They have lots of St. Patty's ideas, so check them out. I love their designs and have Lolly Jane art in almost every room of my home.
And my favorite craft ideas would NOT be complete without something yummy that is also pretty. Doesn't get better than chocolate covered pretzels!! Full shamrock pretzel treat tutorial and party ideas from Sun Scholars.
Alright, those are my favorites, let's see yours!!
Link your favorite Green-colored or St. Patrick's Day ideas, projects, tutorials, decorations, recipes and more- if it's green, I wanna see it!! Please link back to Kirstikoo by adding the button to your post or blog!
kirstikoo


St. Patrick's Day Garland Tutorial

Happy March {almost}!!
Here's the tutorial for the Shamrock Felt Garland, complete with the template and all :) This seriously was the easiest sewing project ever- hardest/most time consuming part was the cutting. And it only cost me $1.25 for supplies. Doesn't get better than that!!
Here's what you need:
Shamrock Template (Email me if you want it!) kirstikoo{at} gmail {dot} com
8X10 Felt Sheets (1 in each color): Green, Light Green, Dark Green, and White
White Thread (or green!)
Ribbon Scraps (about 4 inches each)
2 Buttons
Embossing Thread or other thick thread for buttons

Here's what you do:
Print and cut out the shamrock template. I folded the felt sheet in half lengthwise to cut 2 at a time and got 6 shamrocks out of each color. You might get a callus from cutting, but this is the most time consuming part.
Figure out the order you like and put them in piles...
Sew along the middle of each shamrock, placing the next one at the edge of the one before it. Backstitch and the beginning of the first one and end of the very last one.
Continue chain-stitching all your shamrocks.
Once you are done, get out your embellishments-- cut ribbon into two 4 inch pieces.
Fold the ribbon and make a sandwich with the end felt piece in between the ribbon and button
and sew button onto the felt & ribbon, leaving a tail to knot-
then make a square knot in the back.
And you are done!!

I had a hard time taking down my Valentine's decorations, but I do love me some green!
I especially love this pot of {chocolate} gold. The best part? My kids don't know it's candy!

February 20, 2011

Blog Swap: Shamrock Shirt and Skirt Tutorial

Hey there! I'm Natalie, and I blog over at Corduroy Dreams. I'm so excited that Kirsti and I are blog swapping today. She is so talented and I feel very lucky to be here. Speaking of lucky, can you believe it's already time to start thinking about St. Patty's Day? Every year, I have a hard time figuring out what to have my kids wear on the "lucky" day. Of course, they have to wear green, but it feels like they should wear something special. So this year, I made them Shamrock Shirts. I also made my little girl a skirt to match.


Wanna know how to make your own? It's super simple... Here's how.
You'll need a plain shirt, some fabric for the shamrock, and some "wonder under".
Iron your fabric to your wonder under. Back side of the fabric to the rough side of the wonder under.


I found a shamrock online and printed it out.
Trace the shamrock onto the wonder under.


Peel the wonder under backing off your shamrock.

Then iron it on your shirt.

Easy. Easy. This is the one I made for my 3 year old.
I might do one of these for each holiday, they are SOO easy.


If you want to make a skirt, here's how:

You'll need a piece of fabric twice as wide as your child's waist and however long you want it plus about an inch and a half for the casing and seam allowance. My little girl (size 12 months) has an 18 inch waist, and I wanted to go just to her knee, so my fabric was 36 inches wide by about 10 inches.


Fold the fabric in half, right sides together, and sew down the side. You should get a little tube.


Then sew your casing for your waistband. Just fold over the top and stitch it down. Make sure it's wider than your elastic. And leave about an inch open so you can put in your elastic.


Thread your elastic through and then zig-zag it together and stitch down the opening.


Hem the bottom of the skirt and whalla!
A super, super easy skirt and a cute little shirt (or onesie) to go with it!


I wish I had a picture of my cute little kids wearing their outfits, but it's nearly midnight now, so they are sleeping. I'm thinking a leprechaun might bring them their outfits, anyway.

You'll have to stop by my blog sometime to see them in their cute outfits and to see what projects I've got going on. Thanks for having me, Kirsti!


Photobucket

Thanks Natalie!! Check out Corduroy Dreams for my Shamrock Garland Tutorial!!
Linking up HERE: